Over the last few years, browsers got some super powers. They evolved from simple viewers for HTML & CSS to platforms executing our beloved web applications.
With developments, such as WebGL or tracking.js, developers can do incredible things inside browsers.
Recently we stumbled upon Three.js. So we decided to do a review on how browsers are moving to a 3D world by making use of new libraries.
Libraries for the win.
We at Usersnap love browsers. Yep – we do. Admittedly, I do not take browsers like Internet Explorer into consideration. Overall, I think it’s correct to say that we are huge fans of the modern browser world, and we love to see how developers are using recent browser technologies.
With tracking.js and other powerful JavaScript libraries bringing computer vision to the browser, we see a bright future for web browsers.
What is WebGL?
Before we get started with our three.js review, I’d like to take a moment to discuss WebGL.
WebGL, Web Graphics Library, is a “JavaScript API for rendering interactive 3D computer and 2D graphics within any compatible web browser without plug-ins”.
What does this mean? In short, WebGL is an API that is executed on a computer’s GPU to provide a great performance of interactive 3D graphics in real-time.
Remember the old days of 3D CAD rendering, which needed superpowers? Well, luckily, those days are over. Companies like Onshape are using WebGL to run everything in the browser.
And the great news is that all modern browsers support WebGL (yes, even Internet Explorer does).
What is three.js?
So back to the basics. You might now wonder what three.js is and its connection to WebGL.
Three.js is a library that makes WebGL – 3D in the browser – easy to use.
Sounds great, right? 🙂
With WebGL, a simple cube would turn out a significant amount of JavaScript code, whereas three.js only needs a fraction of that. Three.js is the lightweight library that makes it easy to get started with 3D programming inside the browser.
If you want to start with three.js, I recommend downloading the three.js library directly from this website.
How to use three.js?
To use three.js on a project, you could download it from the mentioned three.js website. If you want to try it, you could also play with three.js on codepen.io.
Just shoot up a new HTML file, which you need to display and run three.js.
<html>
<head>
<meta charset=utf-8>
<title>My three.js playground</title>
<style>
body { margin: 0; }
canvas { width:100%; height: 100% }
</style>
</head>
<body>
<script src="js/three.min.js"></script>
<script>
// the javascript will be placed here
</script>
</body>
</html>
The HTML assumes that you have downloaded the three.js library and saved it in the same folder location. To display something with three.js, we need three things (I guess that’s why it’s called Three.js ;-). We need a scene, a camera, and a renderer, to render the scene with the camera. The code looks like this:
We need a scene, a camera, and a renderer, to render the scene with the camera. The code looks like this:
var scene = new THREE.Scene();
var camera = new THREE.PerspectiveCamera( 75, window.innerWidth / window.innerHeight, 0.1, 1000 );

var renderer = new THREE.WebGLRenderer();
renderer.setSize( window.innerWidth, window.innerHeight );
document.body.appendChild( renderer.domElement );
The first PerspectiveCamera attribute is the field of view, the second one is the aspect ratio. It is recommended to use the element’s width divided by the height (otherwise, the image will look squished).
For further information on the camera and rendering, I recommend taking a closer look at this getting started tutorial of three.js.
So, now I’m going to add a cube. To do so, I need to add a BoxGeometry, which is an object that contains all the points (vertices) and fill (faces) of the cube.
var geometry = new THREE.BoxGeometry( 1, 1, 1 );
var material = new THREE.MeshBasicMaterial( { color: 0x00ff00 } );
var cube = new THREE.Mesh( geometry, material );
scene.add( cube );

camera.position.z = 5;
We also need a so-called Mesh. This is an object which takes a geometry and applies a material to it.
You could add your image to the cube instead of a colored cube.
var material = new THREE.MeshPhongMaterial( { map:THREE.ImageUtils.loadTexture('/image-url.png') } );
Animating the cube
When you insert all the previous codes, you probably see a green box. To animate that box now, we need to add rotation to it.
cube.rotation.x += 0.1;
cube.rotation.y += 0.1;
This will give the cube some rotation animation.
Final output.
All in all, starting with three.js seems pretty straightforward. Especially compared to WebGL. The full code for this first test is available in the codepen playground.
I recommend playing around with it a bit to get a better understanding of how it works.
See the Pen three.js Playground by tompeham (@tompeham) on CodePen.
Conclusion.
As you’ve seen in this first review, three.js gives us an excellent range of possibilities for 3D graphics. For further information on three.js, I recommend reading the official documentation.
And if you wonder what people are already doing with three.js, I recommend checking out the demo projects listed on threejs.org. There are some impressive websites up and running with three.js already.
Close the Feedback Loop with Actionable Insights
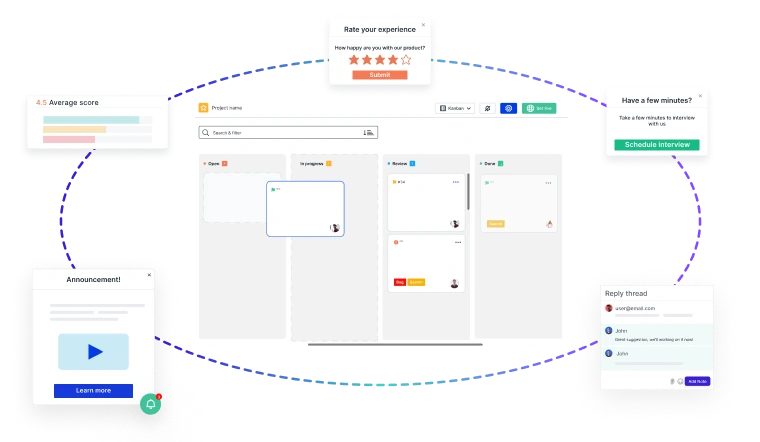
Building great products starts with customer feedback at every stage of your
Product Development Lifecycle (PDLC)
- 🚀 Capture insights effortlessly—from feature discovery to post-launch improvements.
- 📊 Turn feedback into decisions—prioritize requests, track issues, and refine the user experience.
- 🔄 Iterate faster—validate ideas, reduce friction, and keep customers engaged.
Usersnap helps you collect, manage, and act on feedback—seamlessly.
Sign up today or
book a demo with our feedback specialists.