When working in agile development teams or web agencies, you are probably always on the look-out for new and better productivity tools. Pivotal Tracker might be one of these tools which can help you become a better and faster team.
In this post, you’ll find everything you need to know when getting started with Pivotal Tracker. You will also find some useful tips & tricks on how to get more out of your Pivotal Tracker projects.
Why Pivotal Tracker?
So first things first.
You might ask: Why Pivotal Tracker? And what makes Pivotal Tracker a better project management tool compared to other tools out there, like Trello or Asana?
Here’s my personal answer.
Pivotal Tracker is a collaborative & lightweight project management tool developed by Pivotal Labs, a company whose expertise in agile development is widely known.
The main difference Pivotal Tracker has to other project management tools are their so-called “stories”. Pivotal Tracker focuses entirely on these stories.
A story is basically a description of a new feature, bug or simple change request, considered from the perspective of the user. This not only helps you to prioritize your stories, but also lets you focus on what’s important for the user.
Simple workflows are always the best
Pivotal Tracker projects consist of 4 different lists: icebox, backlog, current, and done.
On the one hand, this workflow is pretty basic, and on the other hand, it’s lean and helps you to focus on your real work.
Stories: Features, Bugs, Chore, Release
As mentioned, stories are the core heart of Pivotal Tracker. Pivotal divides stories into the following sub-categories:
- Feature
- Bug
- Chore (A chore is a story with no direct business value, but simply needs to be done, e.g. a “tech task”)
- Release
Make use of the icebox
The icebox seems kind of new if you’re coming from other project management tools and using Pivotal Tracker for the first time. However, the principle of the icebox is simple and it’s the place to start a new project.
The icebox is the place where you enter all your features and ideas at the project start as well as throughout the project itself.
This means that any new story goes to the icebox first. The product owner can then decide and prioritize.
Clean up your backlog
The backlog should be your real workspace. Stories which you and your team would like to tackle first are moved from the icebox to the backlog. The higher the story is in the backlog list, the sooner you’ll start working on it.
Pretty simple, huh?
The Pivotal Tracker workflow
Story statuses might sound a bit confusing at first, since they differ a bit from other project management tools. But you’ll soon benefit from the advantages that come with the following statuses.
When a story entered by your project team into the icebox gets “approved” and it is concluded that someone will be working on it, it will be moved to the backlog.
As soon as a story is listed in the backlog, it gets the status: Start. If, for example, a developer starts working on that story, he or she will press the start button and the story will automatically be moved to the Current list and get the status: Finish.
When the developer finishes his task the status will change to Deliver. Once a story has been delivered, it can move up to the story acceptance (Accept vs Reject).
Once a story is rejected, the status will move back to “re-start”, allowing your developers or designer to re-work the story tasks. If the story gets accepted by the product owner, it will be moved automatically to the “done” list.
Make use of the search & save search queries
Pivotal Tracker offers you a comprehensive search interface which allows you to search and filter for different stories. This comes in quite handy when working on a large project with a lot of people involved and a lot of created stories.
Searches are performed across all story text (e.g. title, description, comments, tasks, requestor, owner, and a lot more).
I’d recommend to check out the following search queries:
- Searching for story state: state:unstarted
- Search for requesters using full name, initial or user names: requester:THP
- Search for stories which were created on a specific date: created_since:22/10/2015
Further ideas for your search can be found in this help section of Pivotal Tracker.
Working on public projects?
By default, all projects are private. This means that those projects are only accessible to you and to the users which you explicitly invite.
On the other hand, public projects are visible to anyone, in read-only mode. Importantly, public projects also appear on the public directory of Pivotal Tracker. So if you’re working on an open-source project or something NPO- or NGO-related, public Pivotal Tracker projects can be the way to go. (Transparency FTW 😉 )
Be aware of notifications
So when starting out with Pivotal Tracker and creating and working on your first stories, you’ll soon notice in-app notifications as well as email notifications coming in.
Decide wisely whether you want to be notified via email on every created story or whether getting notified only of relevant state changes is already sufficient for you. If you do not want your inbox be messed up with notifications, I’d recommend making use of in-app notifications instead of getting all notifications.
Both settings can be found in Profile > Notification Settings.
Write stories together
As mentioned before, stories should always be user-centric and therefore start with “User can…”. However, a story is not only a feature request from the user perspective, but also a deliverable which needs to be done.
it is therefore recommended that customers (or project managers) AND developers write those stories together.
Don’t overuse max-points
Pivotal Tracker allows you to estimate the amount of effort needed to finish each story.
The default point scales are 0, 1, 2, 3. Pivotal Tracker allows you to create your own custom point scales for your projects. Simply go to your project settings > iterations and velocity
No matter if you’re using the default point scale or customer ones, do not overuse the maximum point number. Reserve those max. ratings for real high priority issues or as Joseph Moore from Pivotal Labs puts it:
Reserve them for “OMG” stories.
Send bug reports from your web app to Pivotal Tracker
If you’re working on a new website or web application, you might end up using Pivotal Tracker as your project management tool. While developing and testing your site, there might be a couple of bugs and issues which need to be fixed and need some further attention in your Pivotal Tracker project.
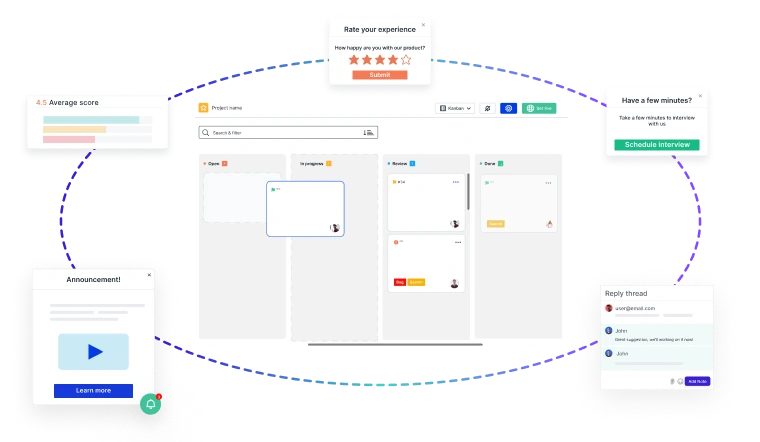
With the Usersnap bug tracker integration for Pivotal Tracker, you can embed a little feedback widget on your websites. This feedback widget allows you and your testers to report bugs or simply leave some feedback.
See the full guide on how to send bug reports from your website to Pivotal here.
Labeling is a time-saver
When working inside your Pivotal Tracker projects, you have different kinds of fields which need to be filled out. From Story types, to points, states, owners, and so on.
There’s an additional field which I truly recommend to make use of. Those are called Labels.
Labels are a great way to cluster and segment your stories. Having a lot of stories in place, you might want to filter out certain stories for certain use cases.
Therefore I recommend to make use of the following labels:
- blocked
- ideas
- needs-owner
- needs-design
- needs-development
- needs-discussion
- needs-customerfeedback
Wrapping it up.
Wow. That was quite a lot. I know it may sound overwhelming in the beginning but once you get settled with Pivotal Tracker, joy and satisfaction will take over. And there are definitely way more benefits to using Pivotal Tracker than those I’ve already shown you in this blog post.
Are you thinking of making the switch to Pivotal Tracker? Let us know in the comments or on twitter!
This article was brought to you by Usersnap – a visual bug tracking and screenshot tool for every web project.
Close the Feedback Loop with Actionable Insights
Building great products starts with customer feedback at every stage of your
Product Development Lifecycle (PDLC)
- 🚀 Capture insights effortlessly—from feature discovery to post-launch improvements.
- 📊 Turn feedback into decisions—prioritize requests, track issues, and refine the user experience.
- 🔄 Iterate faster—validate ideas, reduce friction, and keep customers engaged.
Usersnap helps you collect, manage, and act on feedback—seamlessly.
Sign up today or
book a demo with our feedback specialists.